

How do I send emails using Google OAuth 2.0 with Nodemailer?
It's simple than you think


Some Gibber Jaber
I am using the Nodemailer package for sending emails from my Node server. But I always had to enable the ' Less secure apps access ' option for my Gmail account and that's not a good option. It's simply because Gmail expects the user to be an actual user, not a robot so it blocks every login attempt made by Nodemailer on behalf of you. Gmail has this concept 'Less Secure' app that allows anyone who uses a plain password to log in. I have used this technique for my web app for a few months but Gmail always turns off this option automatically if it is not regularly used. So, what's the reliable and permanent solution to this?
We are going to dive into this article with proper implementation of how you and I can send an email using Google OAuth 2.0 and the Nodemailer module. Okay, then let's do this.
First, I will write down the prerequisites for this project.
Prerequisites
- Node. js ( I am assuming, you have basic knowledge about building an express server ).
- Nodemailer ( Module to send emails )
and that's it.
Note: Whatever the code snippets I will be sharing, I am assuming you will follow it along with me for the best practice.😉
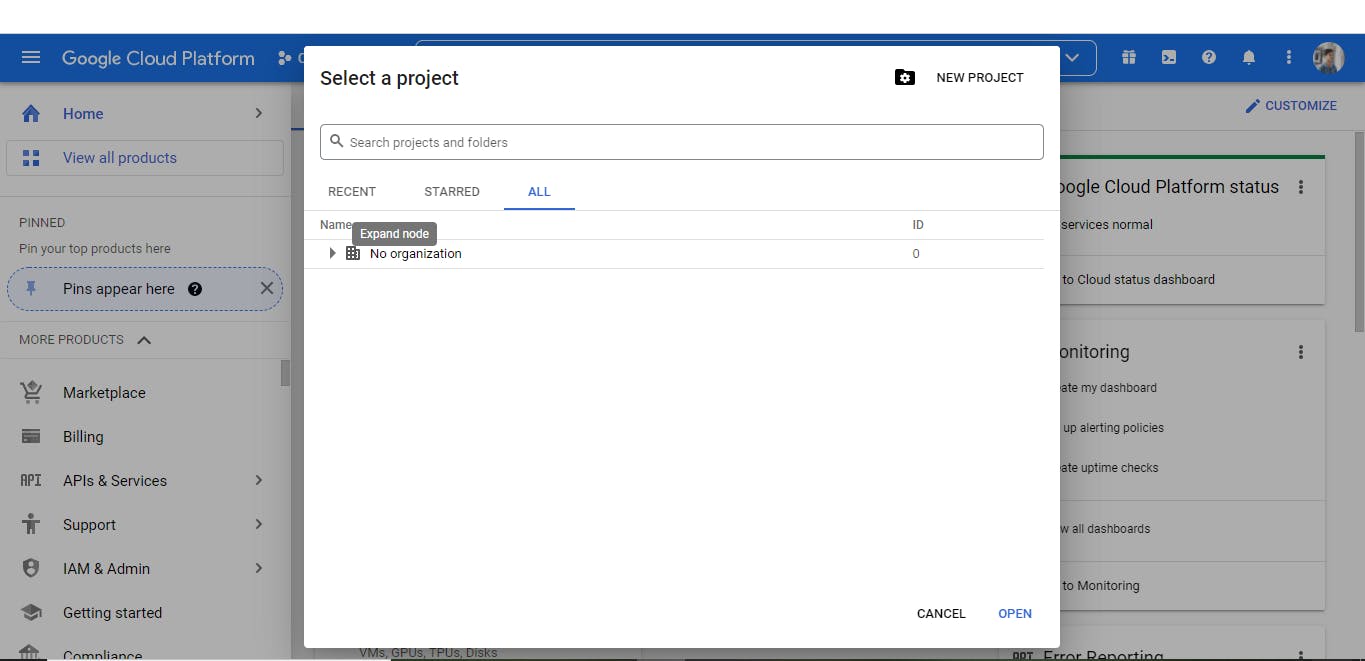
Step 0: We need to acknowledge Google about our project so that it can allow our backend app to send an email. Go to Google Cloud Platform and create a new project.
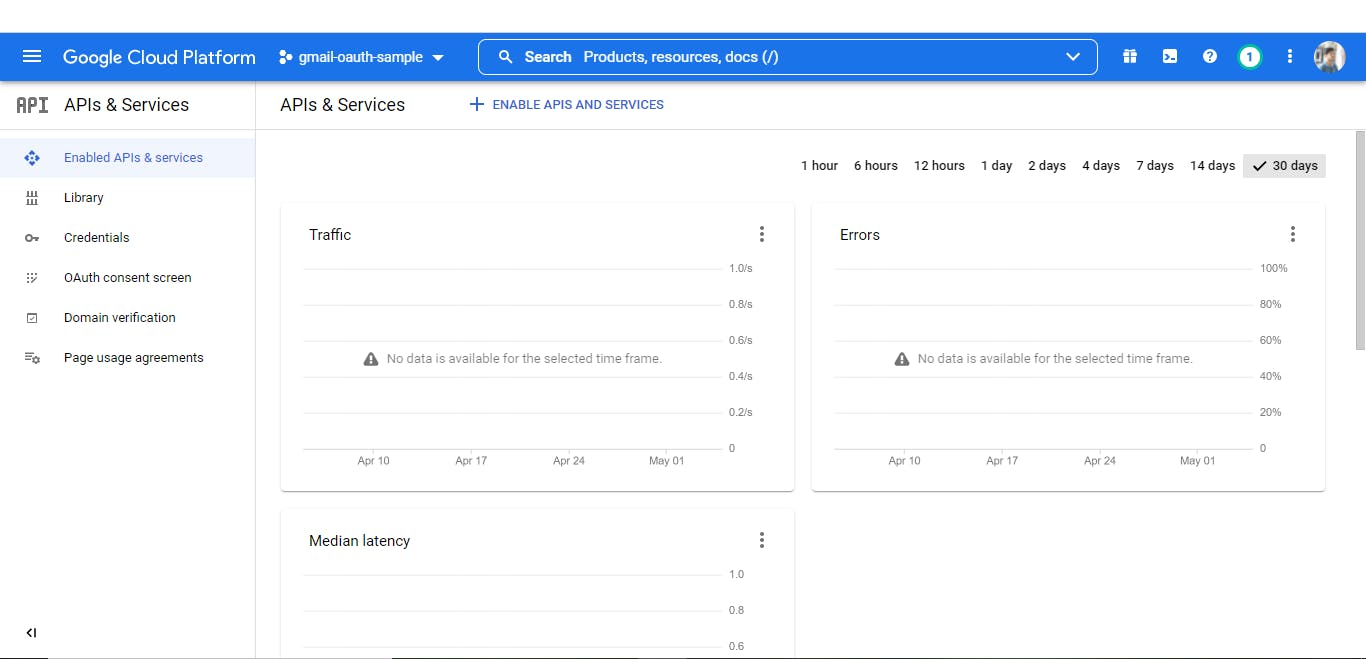
Step 1: Now, go to Apis & Services and select the OAuth consent screen.
Step 2: You need to fill in the App name, Supported Email, and Developer Contact info (same as Supported Email).
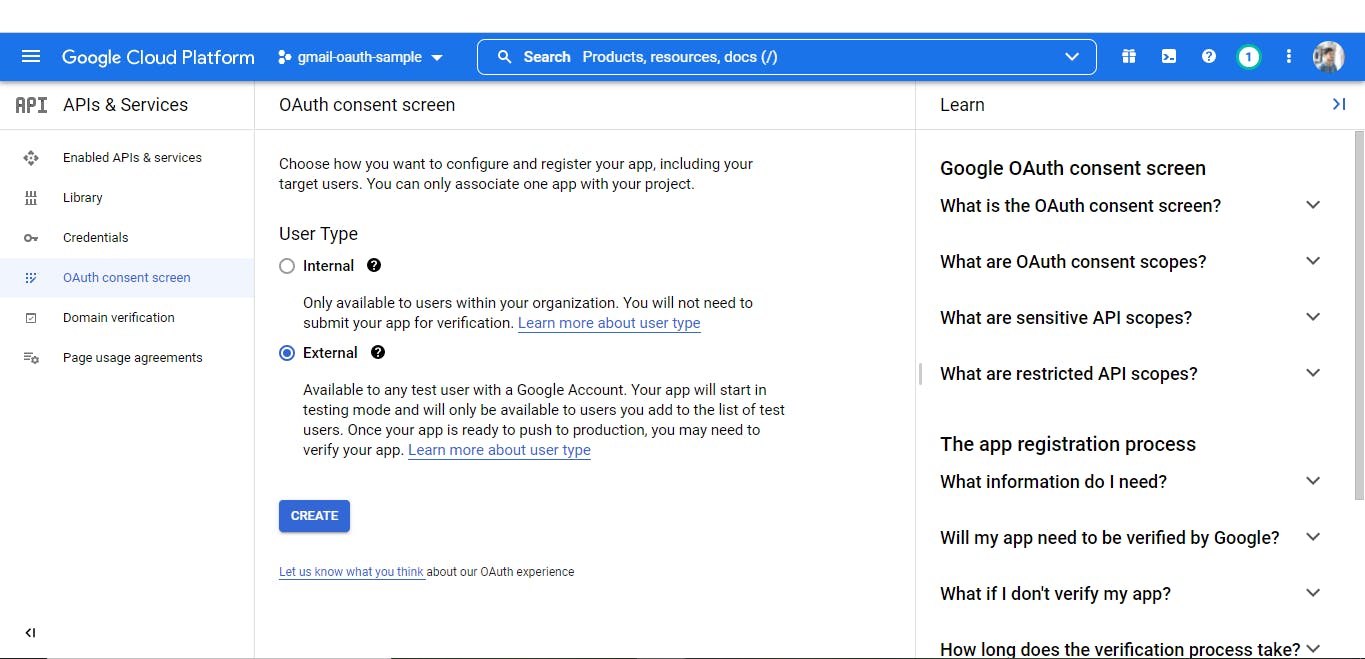
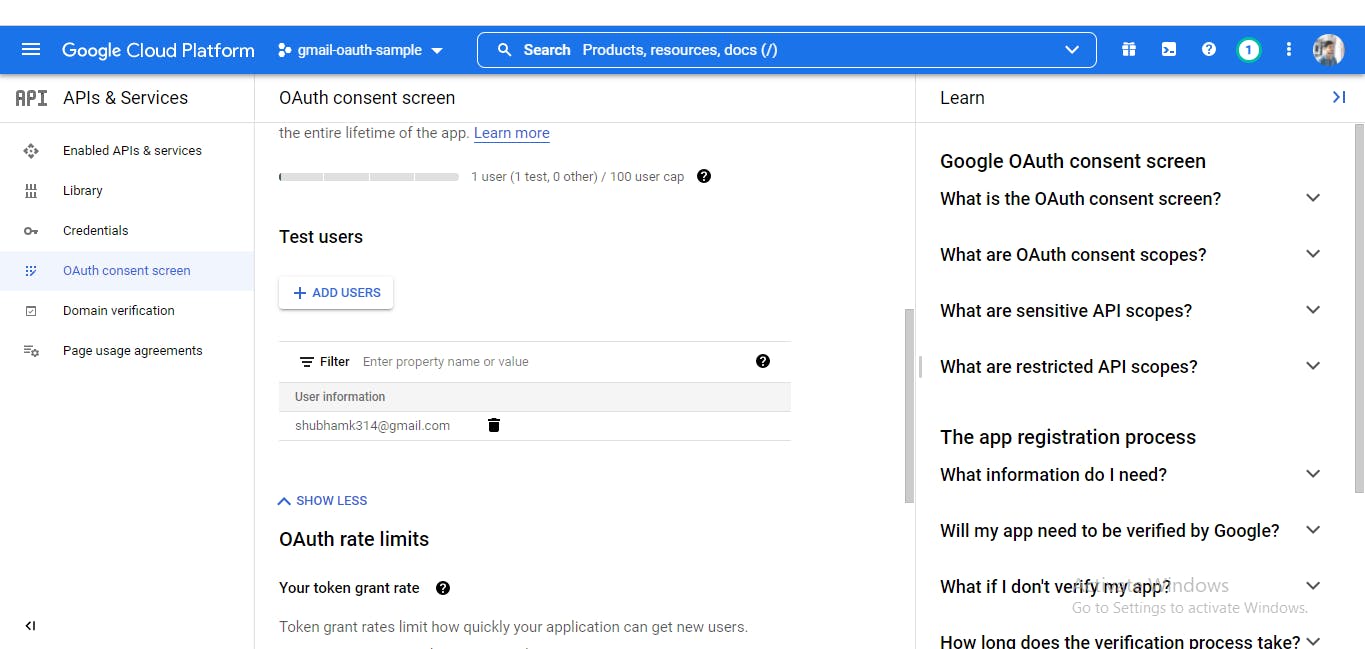
Step 3: After creating your app and giving access to 'External' make sure to add your Gmail account under the 'Test Users' tab as shown in the picture below.
Step 4: Go to the credentials tab and create an OAuth Client ID.
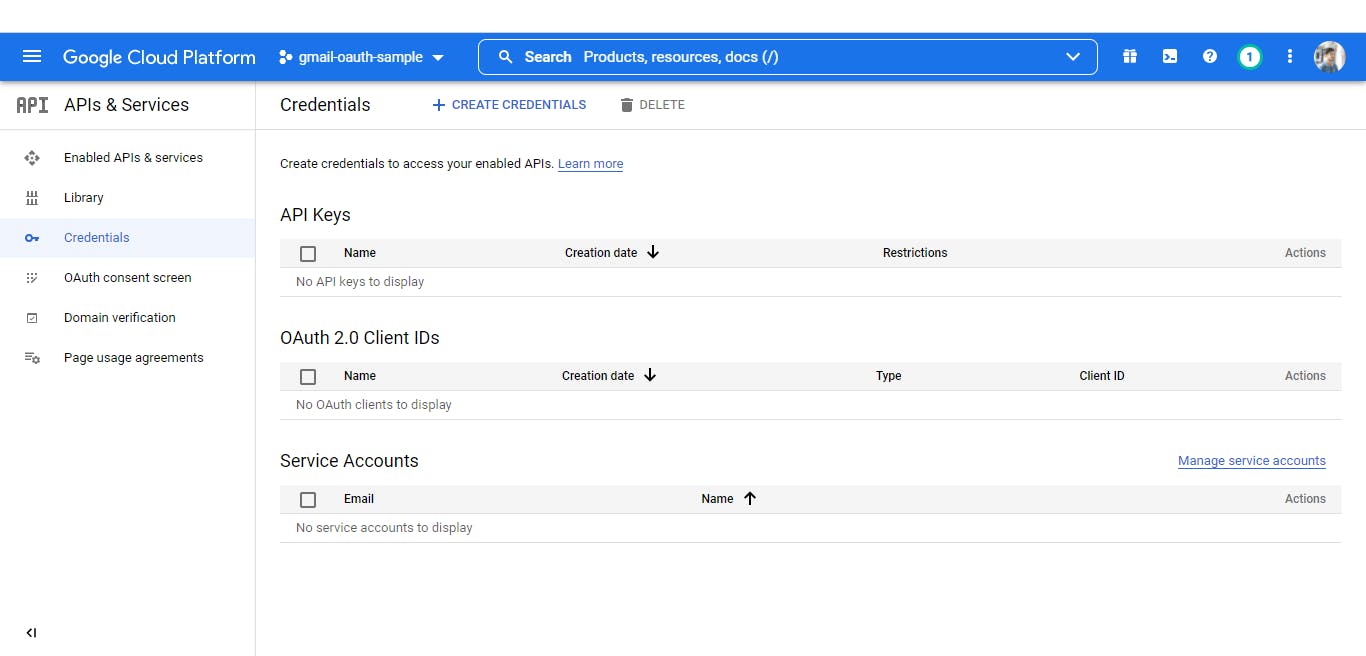
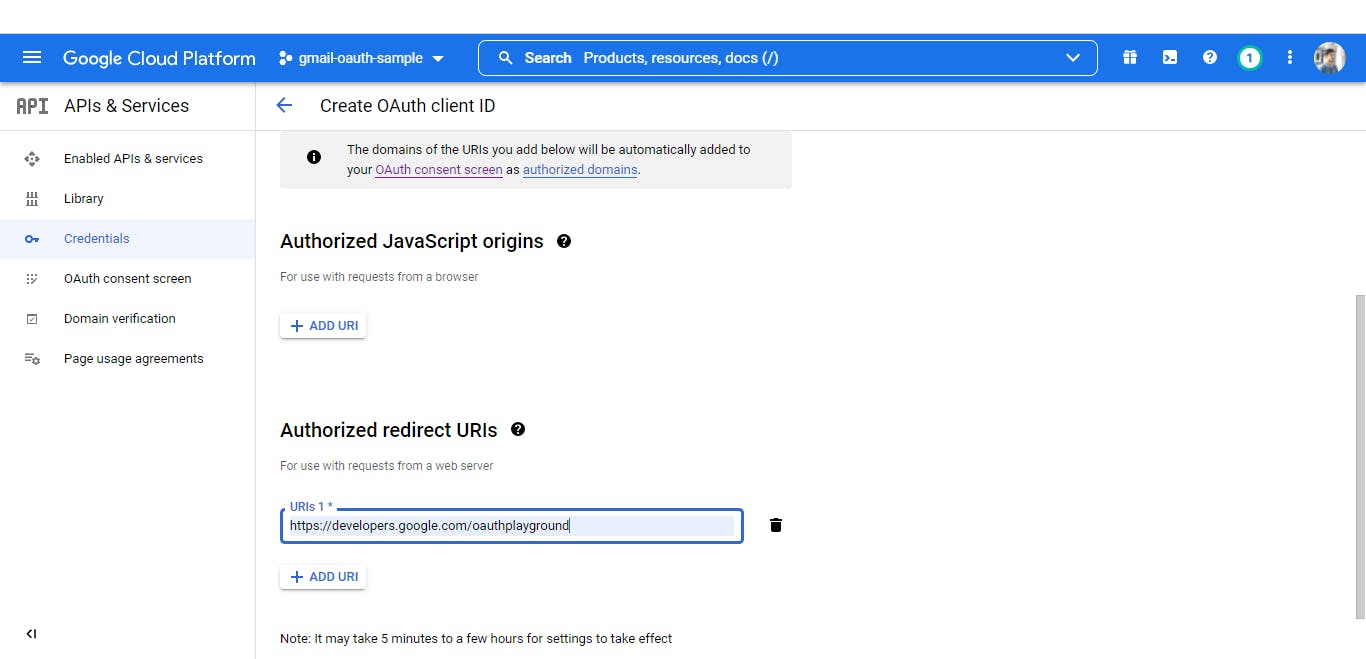
Step 5: Select 'Web Application' and make sure to add developers.google.com/oauthplayground to Authorized redirect URIs. Now after creating it, copy the Client ID and Client Secret.
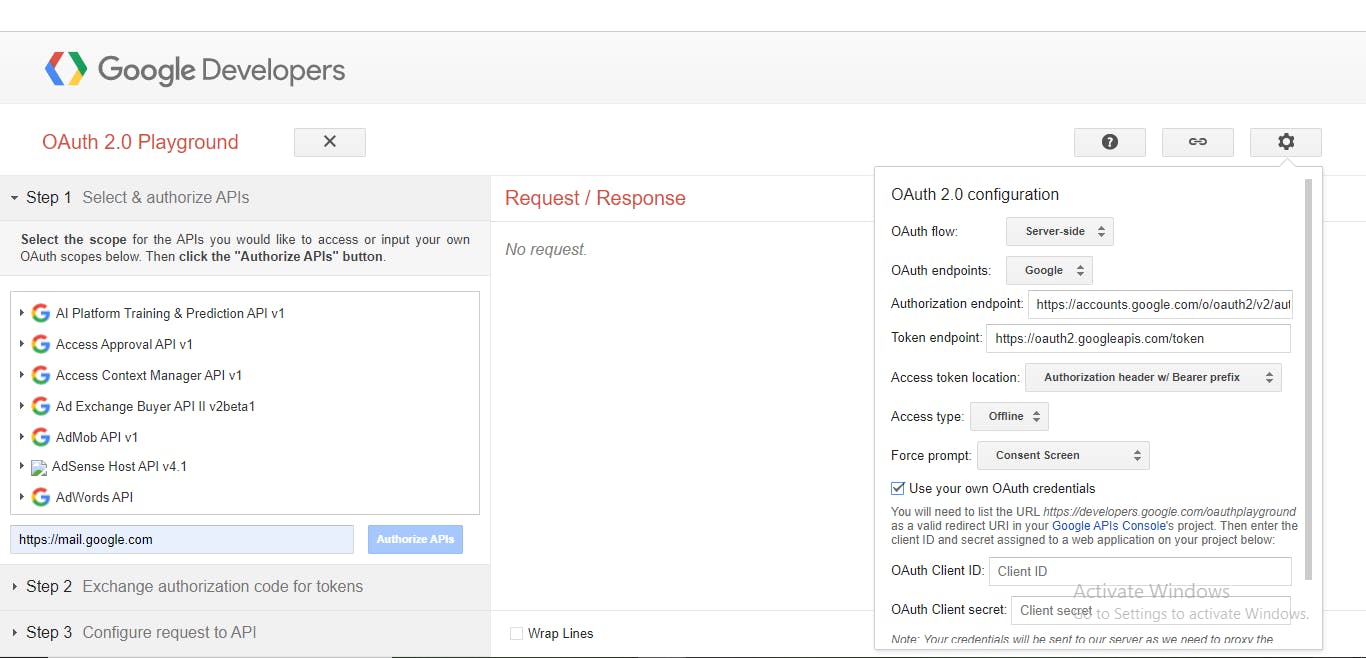
Step 6: Now. go to OAuth Playground and add mail.google.com to scope. Now, choose the 'OAuth 2.0 configuration' option and use your own Client ID and Client Secret. Now click on 'Authorize APIs'.
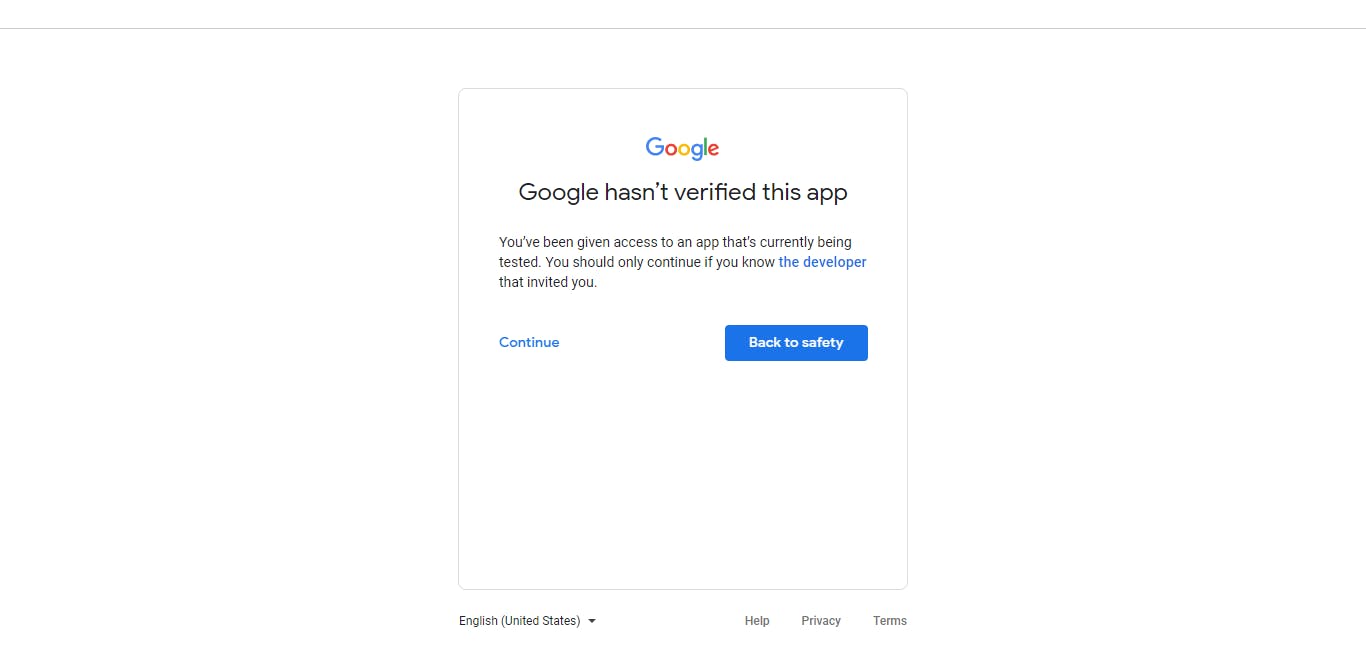
Step 7: Select the Gmail account that you have added as Test Users under the 'OAuth consent screen'.

Step 8: Press continue and voila, you should be redirected to OAuth Playground.
Step 9: Now, click on 'Exchange authorization code for tokens'.
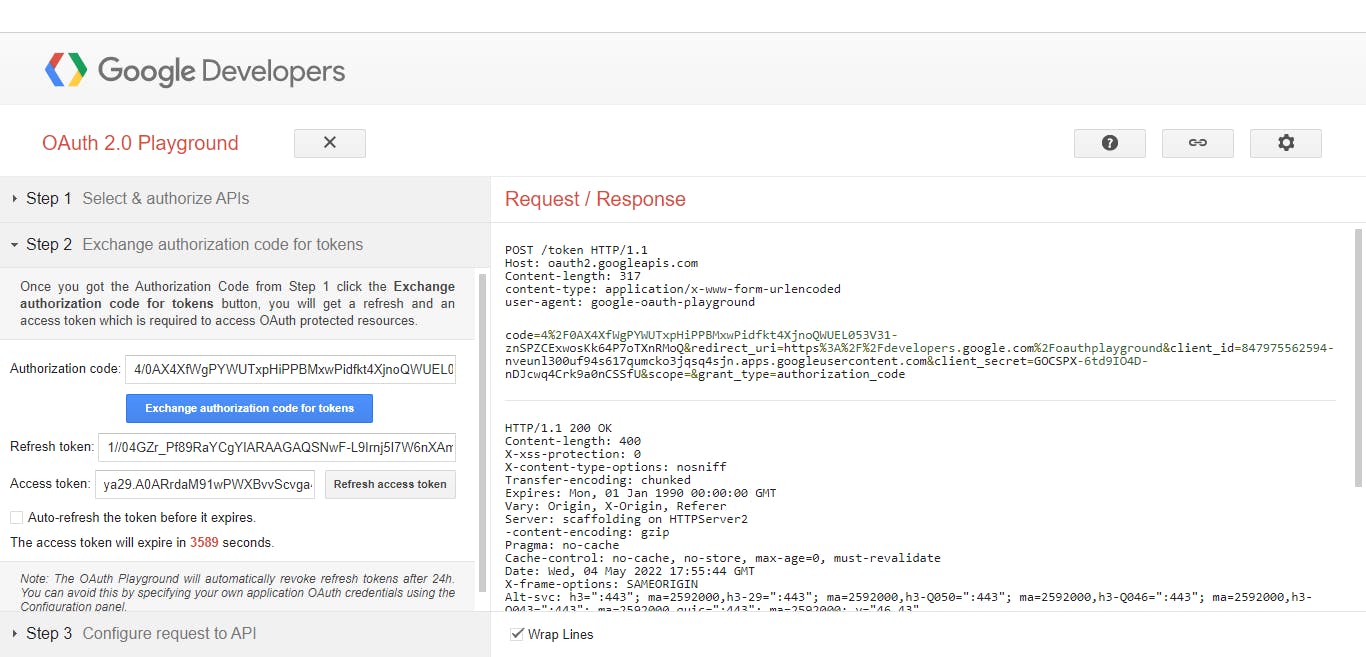
Now, we have our Client ID, Client Secret, and Refresh Token. We are ready to start with our project.
Step 10: Install the dependencies for the project.
npm init -y
npm install nodemailer googleapis
Please use sudo if you are facing any issues.
Step 11: Copy the below code in a new index.js file.
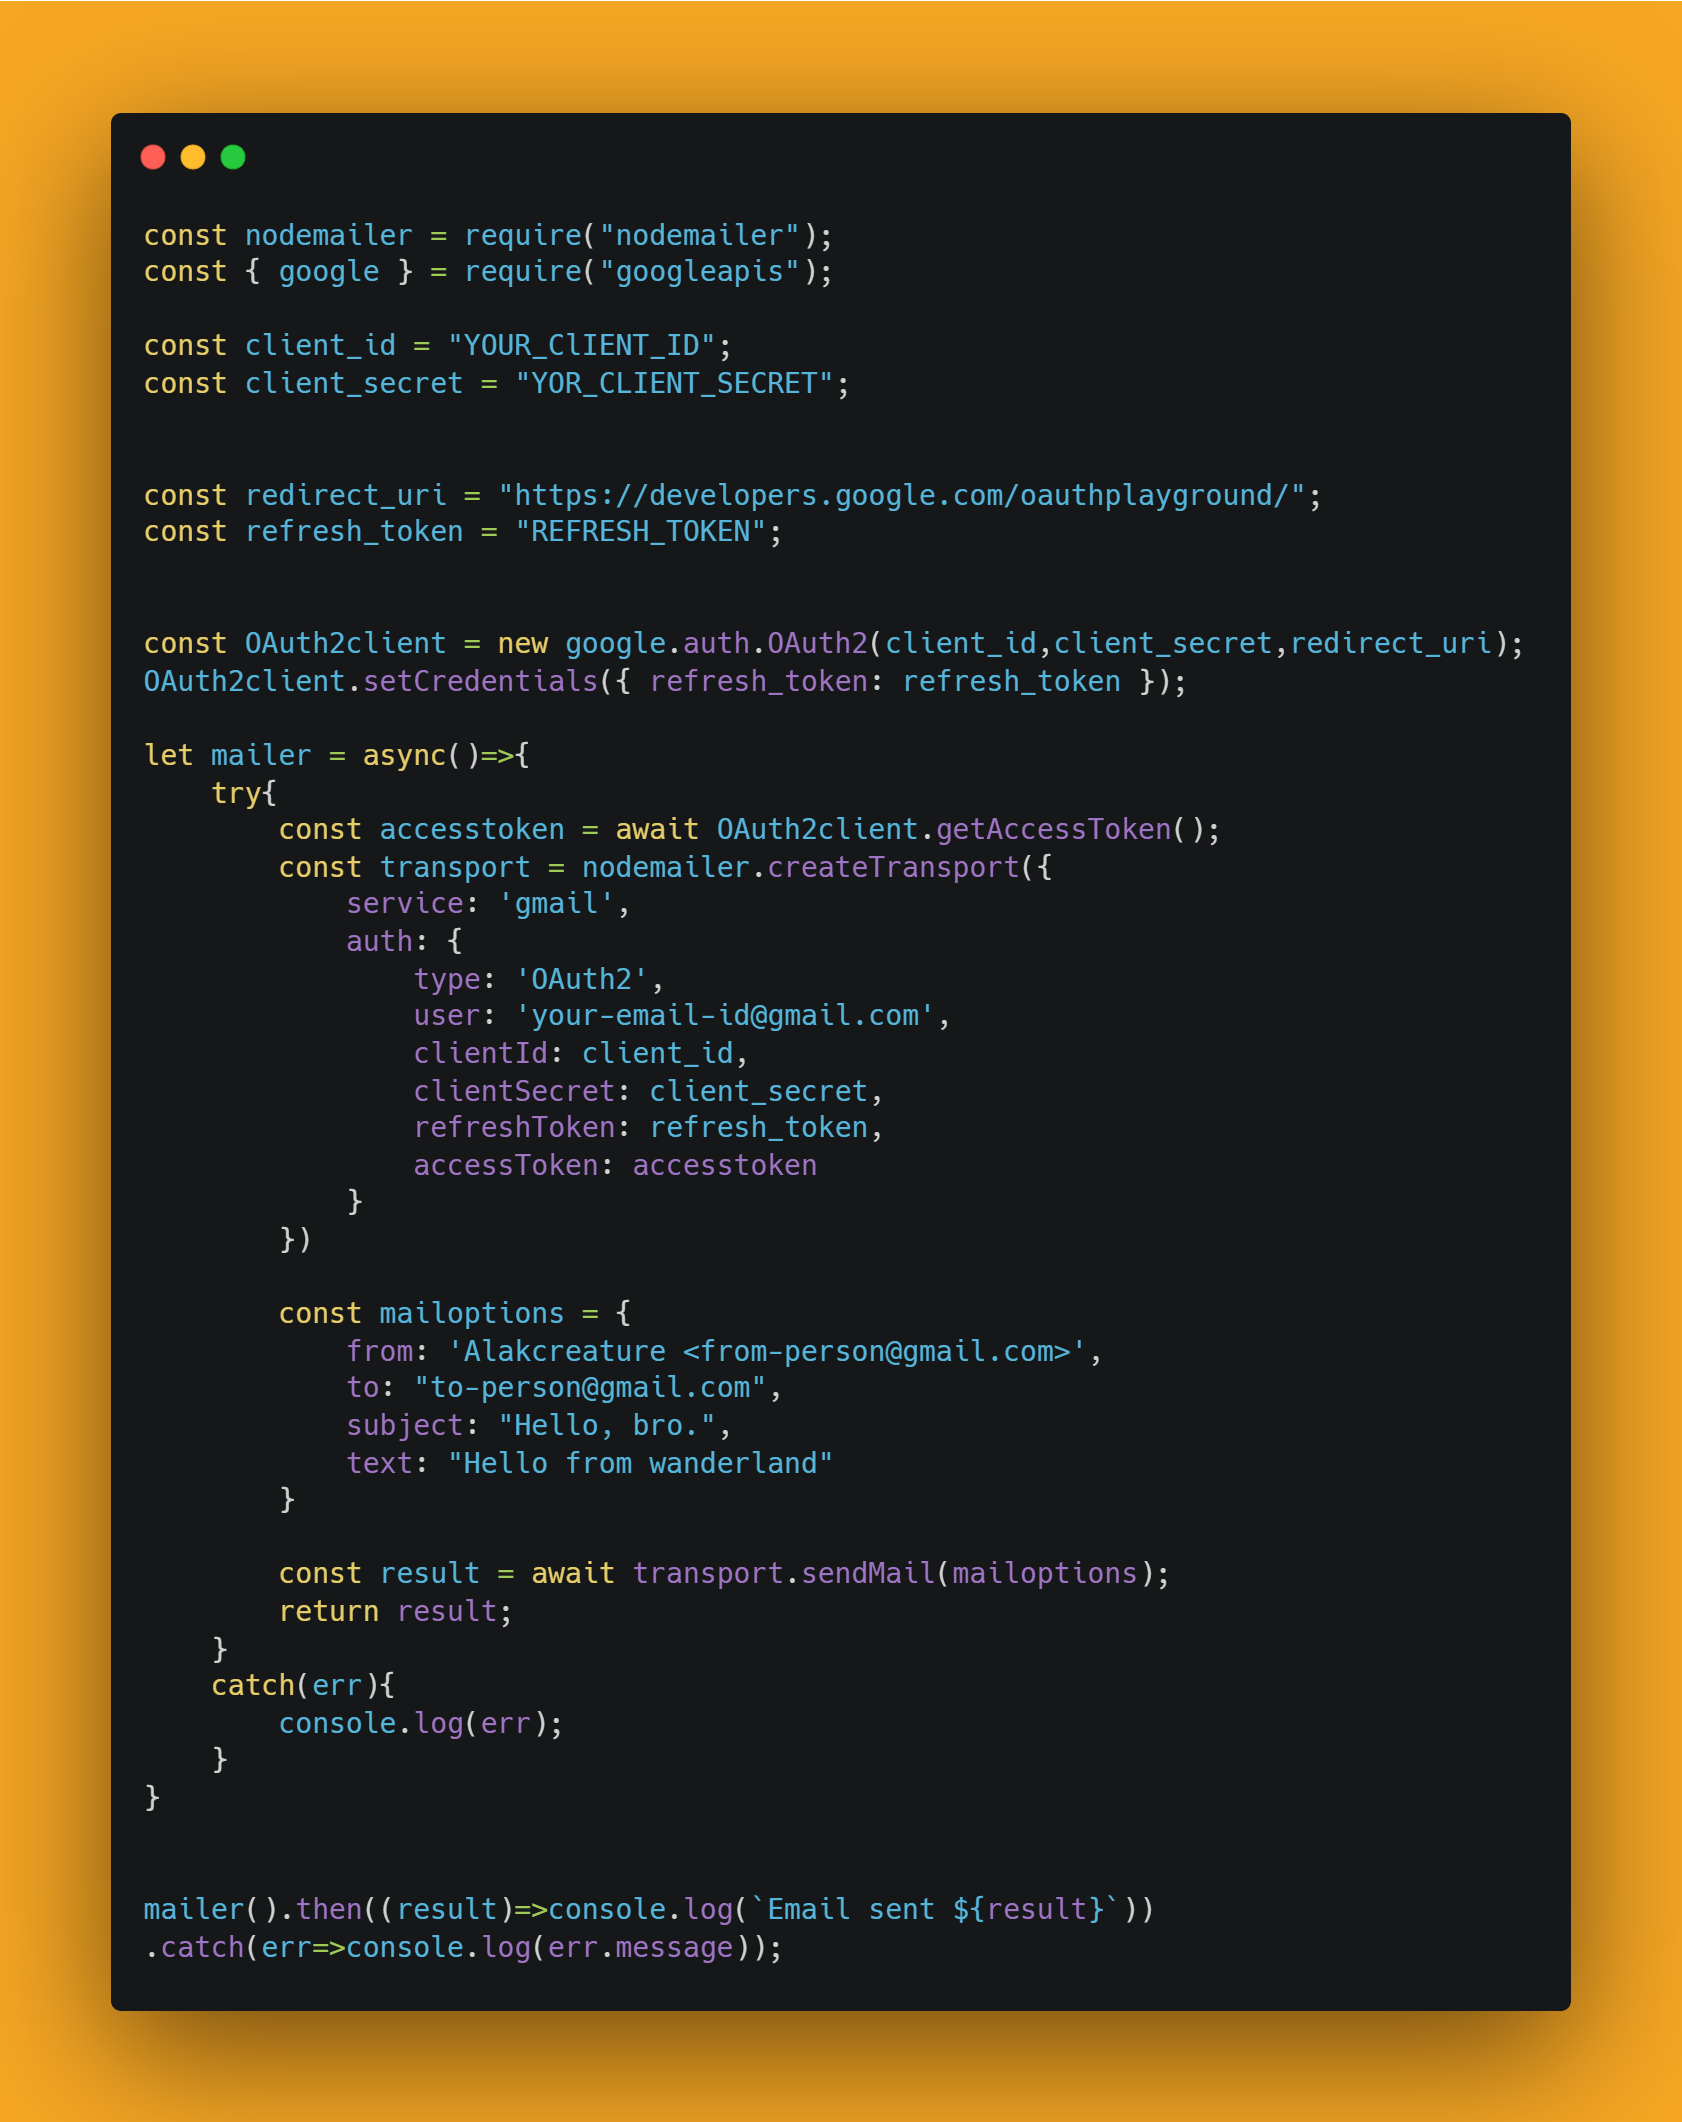
Run node index.js and check if it is sending the mail.
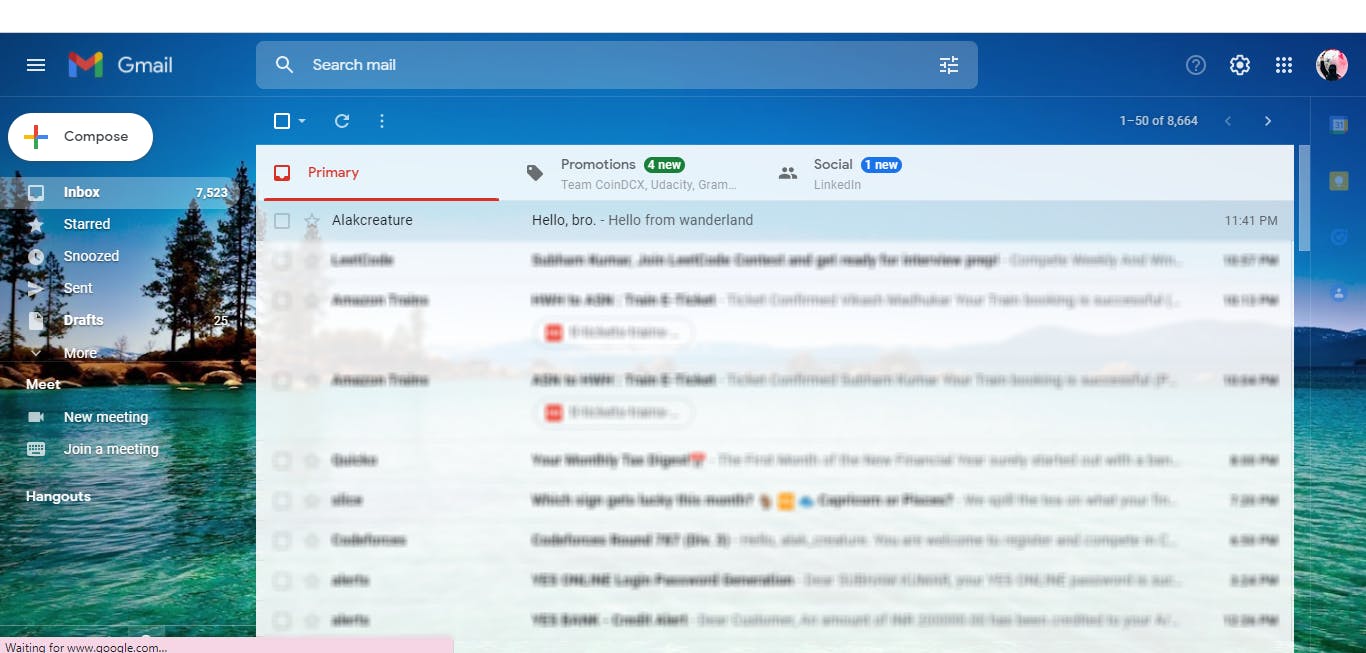
Zumba! Your project is ready in a way more authentic manner.
If you find any difficulty or you have to ask any query, you can contact me on LinkedIn.
धन्यवाद् ❤